Hey Guys Post Any 3Ds Stickers, Decals & Skins Here Along With A Link, So That We Can Start A Collection.
How To Apply Skins or Decals to the 3Ds
Format For Skin, Sticker or Decals Requests
Format For Skin, Sticker or Decals To Be Listed
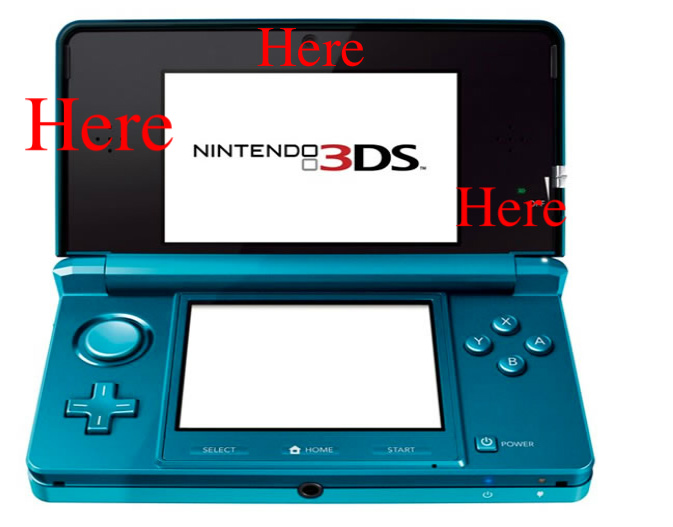
*Nintendo recomends that you do not apply skins to this area pictured below, as in some case it can affect the 3D effect, As of yet I have not seen any issues, If you have an issue speak to Nintendo, Do Not hesitate To Ask Questions*
-----------------------------------------------------------------------------*List*----------------------------------------------------------------------------------
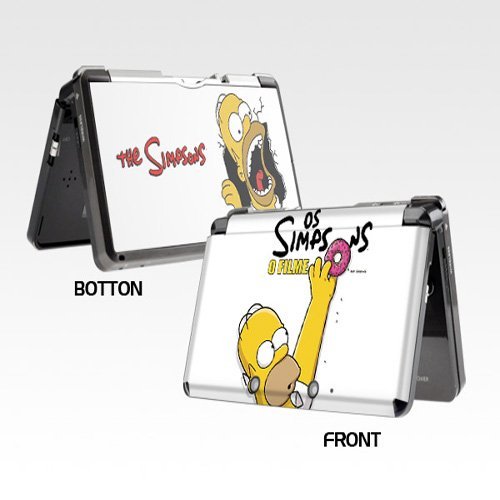
The Simpsons and Family Guy
How To Apply Skins or Decals to the 3Ds
1. Lightly moisten a cloth with Windex or Simple Green.
2. Wipe down the system housing, being careful not to touch the cameras or screens.
3. Use a dry cloth to dry the areas you ahve cleaned.
For Best Results:
Use a micro fibre cloth to wipe over the 3Ds after cleaning.
4. Make sure there are no particles on the are where the Decal or Skin will be applied.
5. If possible start with the skin for the top of the housing. Line up the wholes for the outer cameras with the skin, using both hands, gently lay the skin to the surface. Let the middle of the skin touch first. If needed use a ruler to flatten the sticker to the housing.
6. Start rubbing up and down from the middle and work your way out to the edges, one side at a time.
7. Repeat Step 4 for the bottom of the housing, and line up the corners of the skin to the corners of the housing i.e where the little plastic bumpers are, using both hands, gently lay the skin to the surface. Let the middle of the skin touch first.
8. Start rubbing up and down from the middle and work your way out to the edges, one side at a time, Making sure there are no bubles while doing this. If needed use a ruler to flatten the sticker to the housing.
9. Open up the unit and double check that you cleaned the inside of the 3Ds. Now line up the piece that goes around the bottom screen. Line it up with the edges of the screen, circle pad, d-pad and buttons . Gently lay it to the surface. Start rubbing from the center and work your way to the ends, taking your time around the buttons and the d-pad and circle pad.
10. Line up the edges of the skin, with the edge of the inner housing and the top screen, being mindful of the speakers. Rub from the edges and out to the edge of the housing. Smooth with a ruler if neccesary.
Format For Skin, Sticker or Decals Requests
Request: (Skin/Decal Picture and/or Name
Details:
Details:
Code:
[member='Zerosuit Connor']Format For Skin, Sticker or Decals To Be Listed
Picture Of Decal or Skin
(Link Here)
(Link Here)
Code:
[member='Zerosuit Connor']*Nintendo recomends that you do not apply skins to this area pictured below, as in some case it can affect the 3D effect, As of yet I have not seen any issues, If you have an issue speak to Nintendo, Do Not hesitate To Ask Questions*
-----------------------------------------------------------------------------*List*----------------------------------------------------------------------------------
Ebay Auctions (These are temporary but go very cheap)
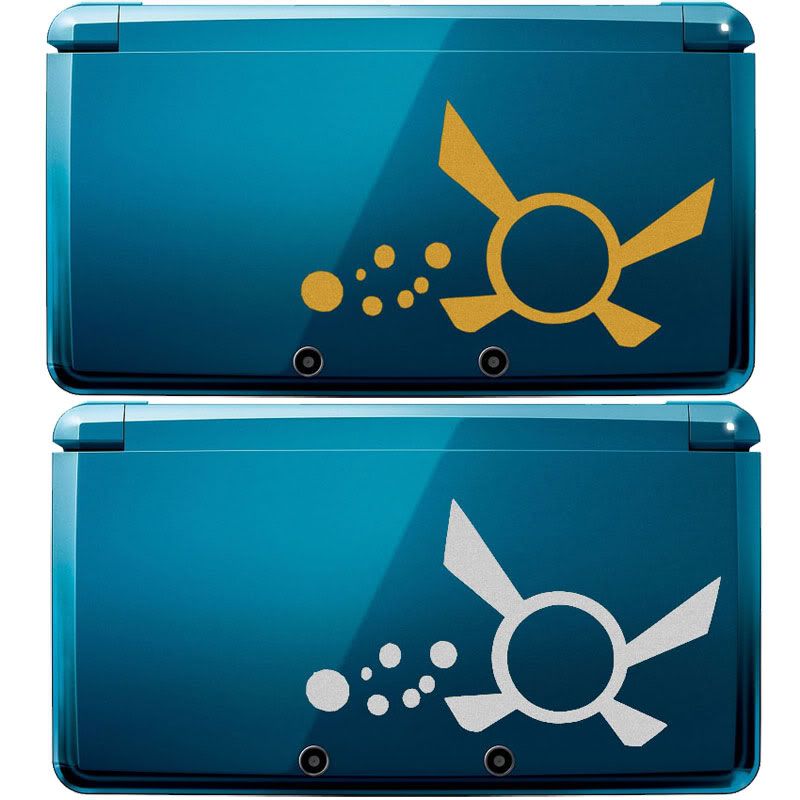
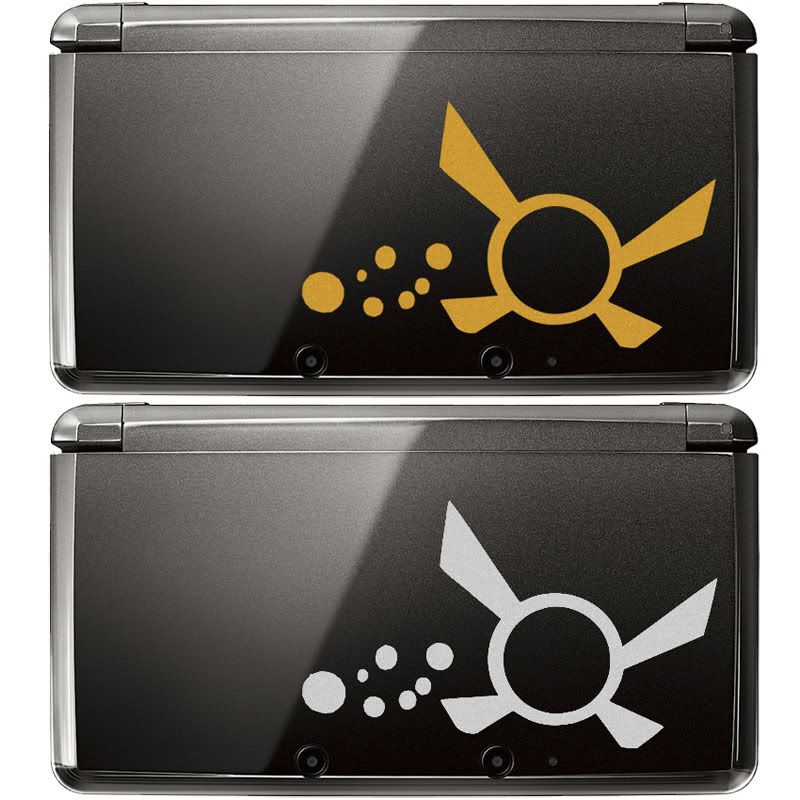
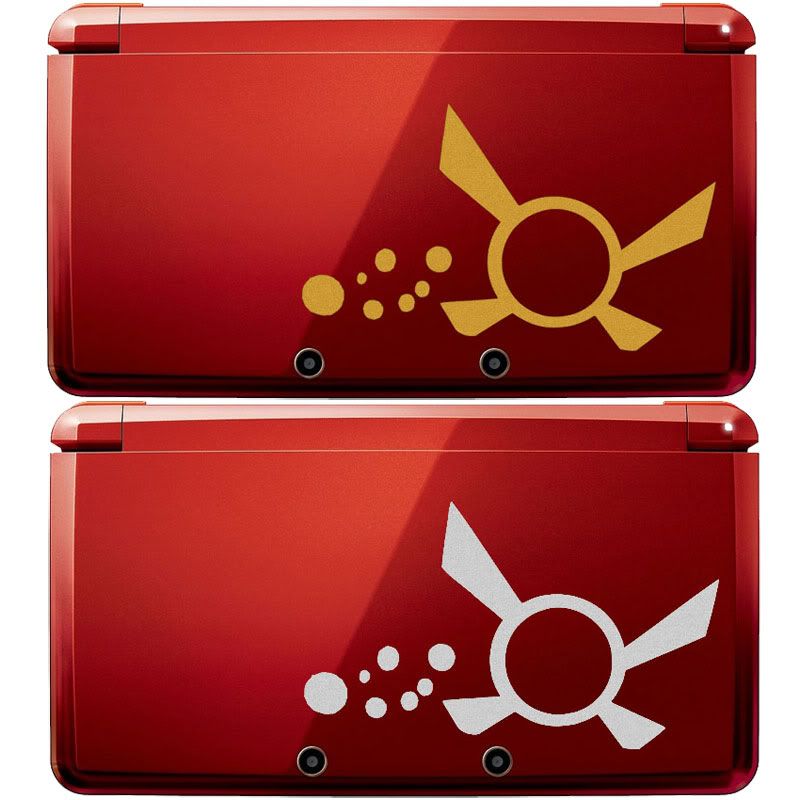
Legend Of Zelda - Navi
$4.99 for 2, Ends Feb 07, 2012 22:58:16 PST
Multiple Colors Available
Red, White, Black, Blue, Yellow, Silver, Gold, and Pink colors are available on request at no additional cost
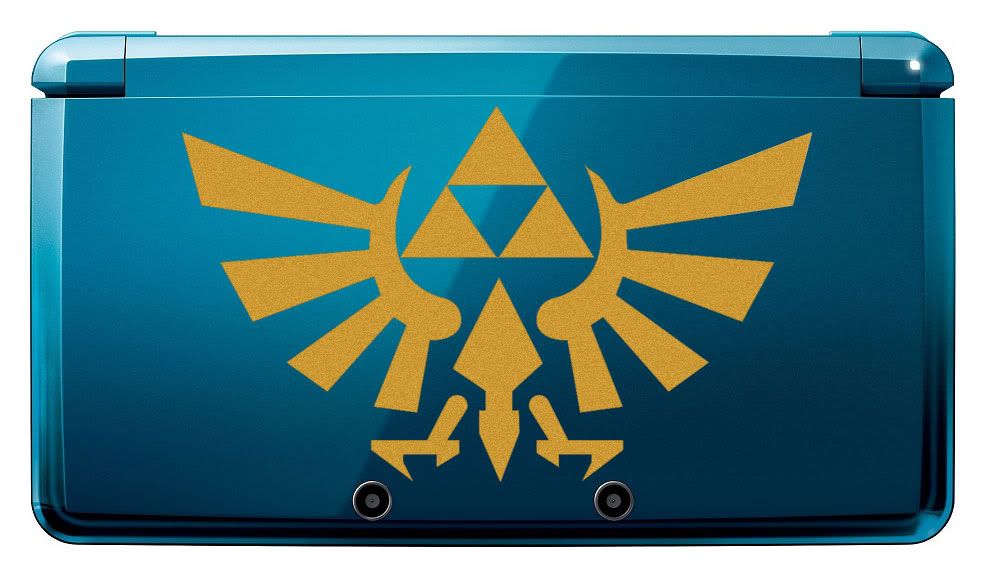
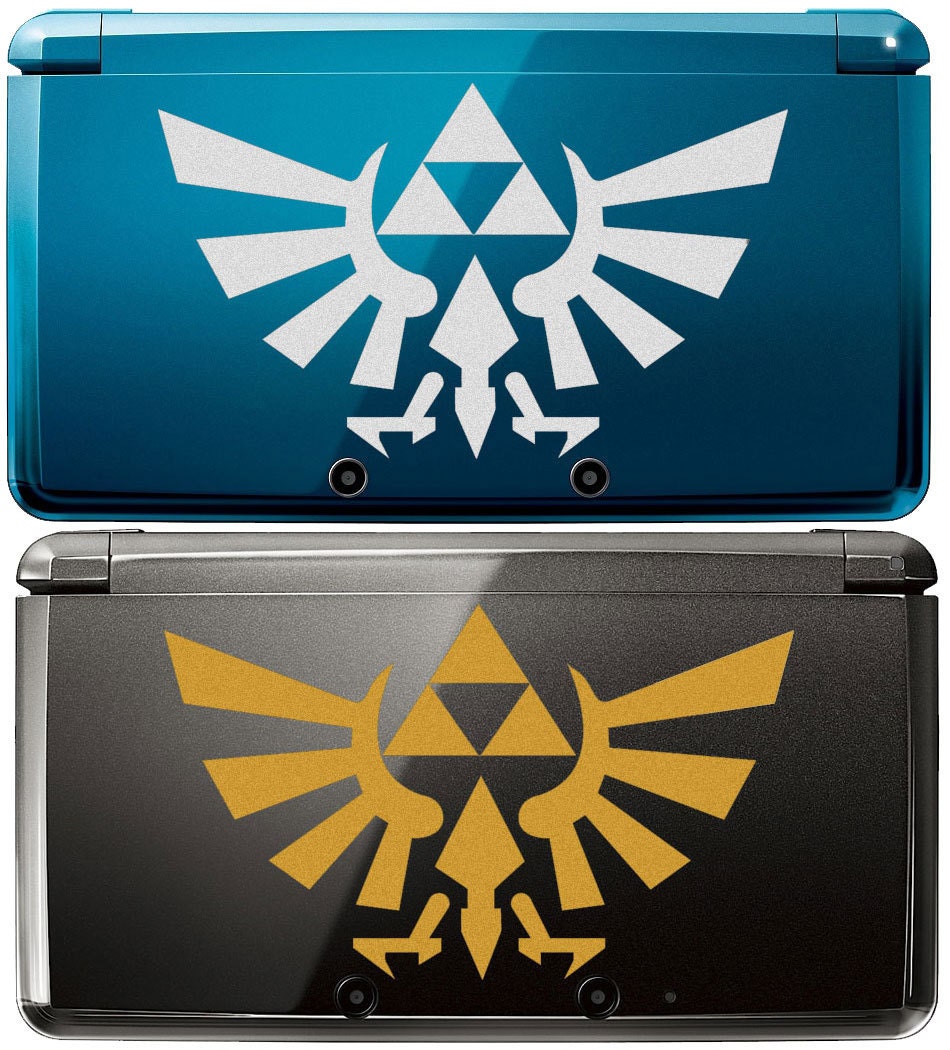
Legend of Zelda - Triforce Large
$3.99
Gold, Red, White, Black, Blue, Yellow, Silver, Gold, and Pink colors are available on request at no additional cost
$4.99 for 2, Ends Feb 07, 2012 22:58:16 PST
Multiple Colors Available
Red, White, Black, Blue, Yellow, Silver, Gold, and Pink colors are available on request at no additional cost
Legend of Zelda - Triforce Large
$3.99
Gold, Red, White, Black, Blue, Yellow, Silver, Gold, and Pink colors are available on request at no additional cost
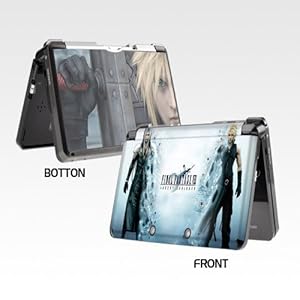
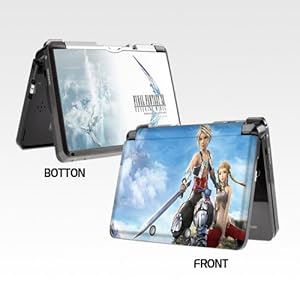
Final Fantasy


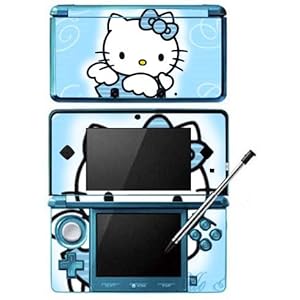
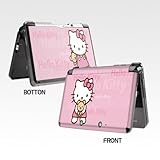
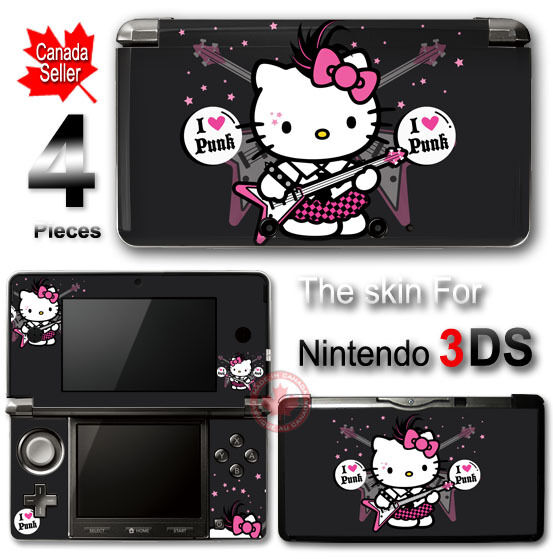
Hello Kitty


BzkQBODngVB)5w~~0_3.JPG)
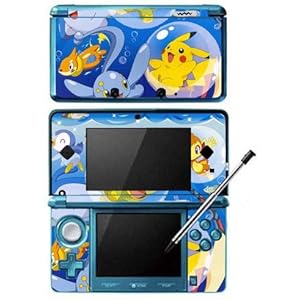
Pokemon


Bleach


The Legend of Zelda
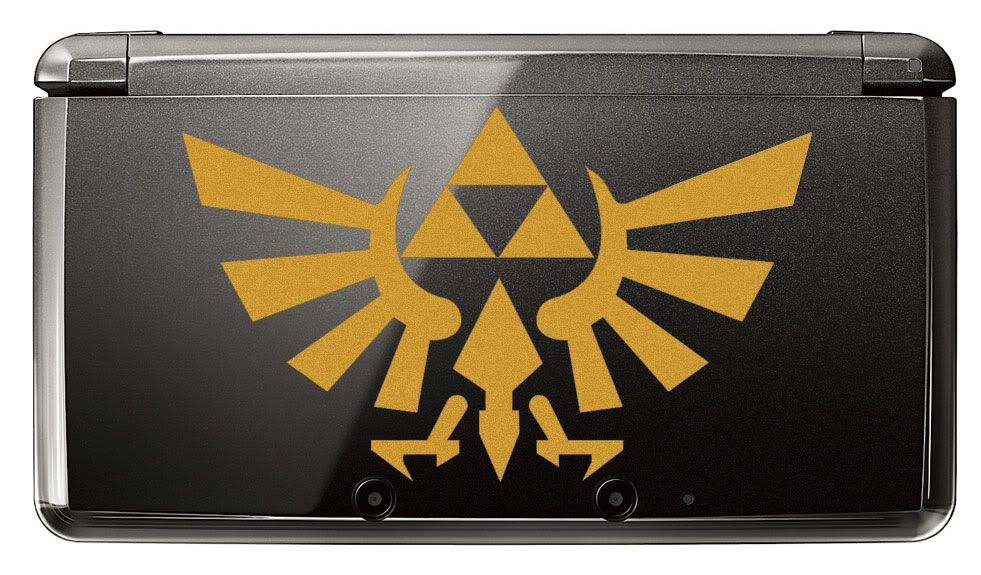
Zelda Triforce
The Legend of Zelda - Triforce Small
$1.99
Available in Bright Gold, Rusty Gold, White, Black, Red


Ocarina Of Time 3D

The Legend of Zelda - Triforce Small
$1.99
Available in Bright Gold, Rusty Gold, White, Black, Red
Ocarina Of Time 3D
Mario


Devil May Cry


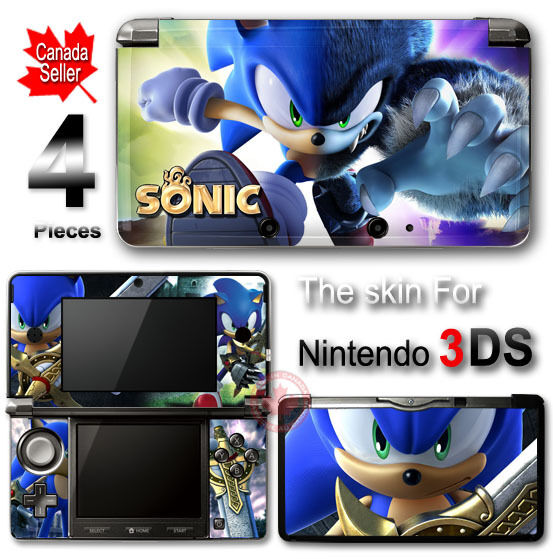
Sonic
Call Of Duty

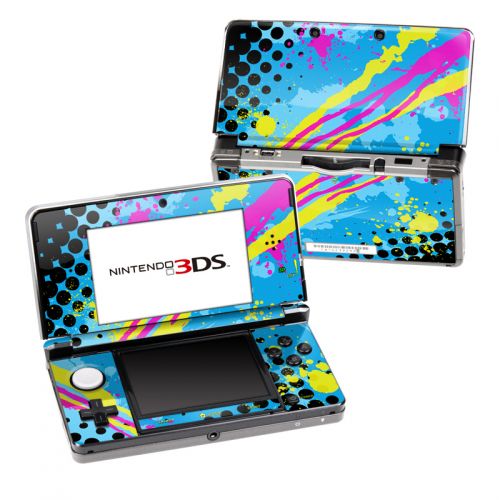
Assorted


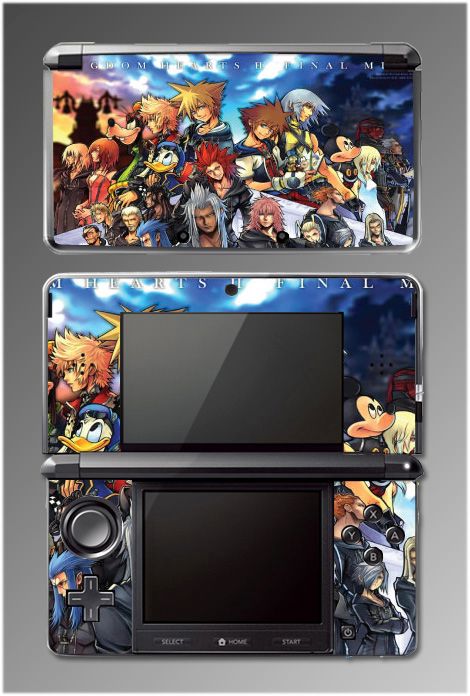
Kingdom Hearts

The Simpsons and Family Guy